Environment Map Results
This page contains information on where to locate your environment map results, how to manually download them and some fine-tuning tips.
Find results

Once the result is ready, the HDR file is automatically downloaded and imported as a TextureCube .uasset in your project's Content folder in a subfolder named EnvironmentToolkit:
Content/EnvironmentToolkit
To customize the default output directory, navigate to Edit > Project Settings within the Unreal Engine Editor. Under the Plugins section, select StudioTwin Environment Toolkit to modify the SaveFolder setting. Note that all specified paths are relative to the project's Content/ folder.
If you wish to download the .hdr file you can navigate to the notification widget and press the hyperlink, and download the result on your browser.
Edit results
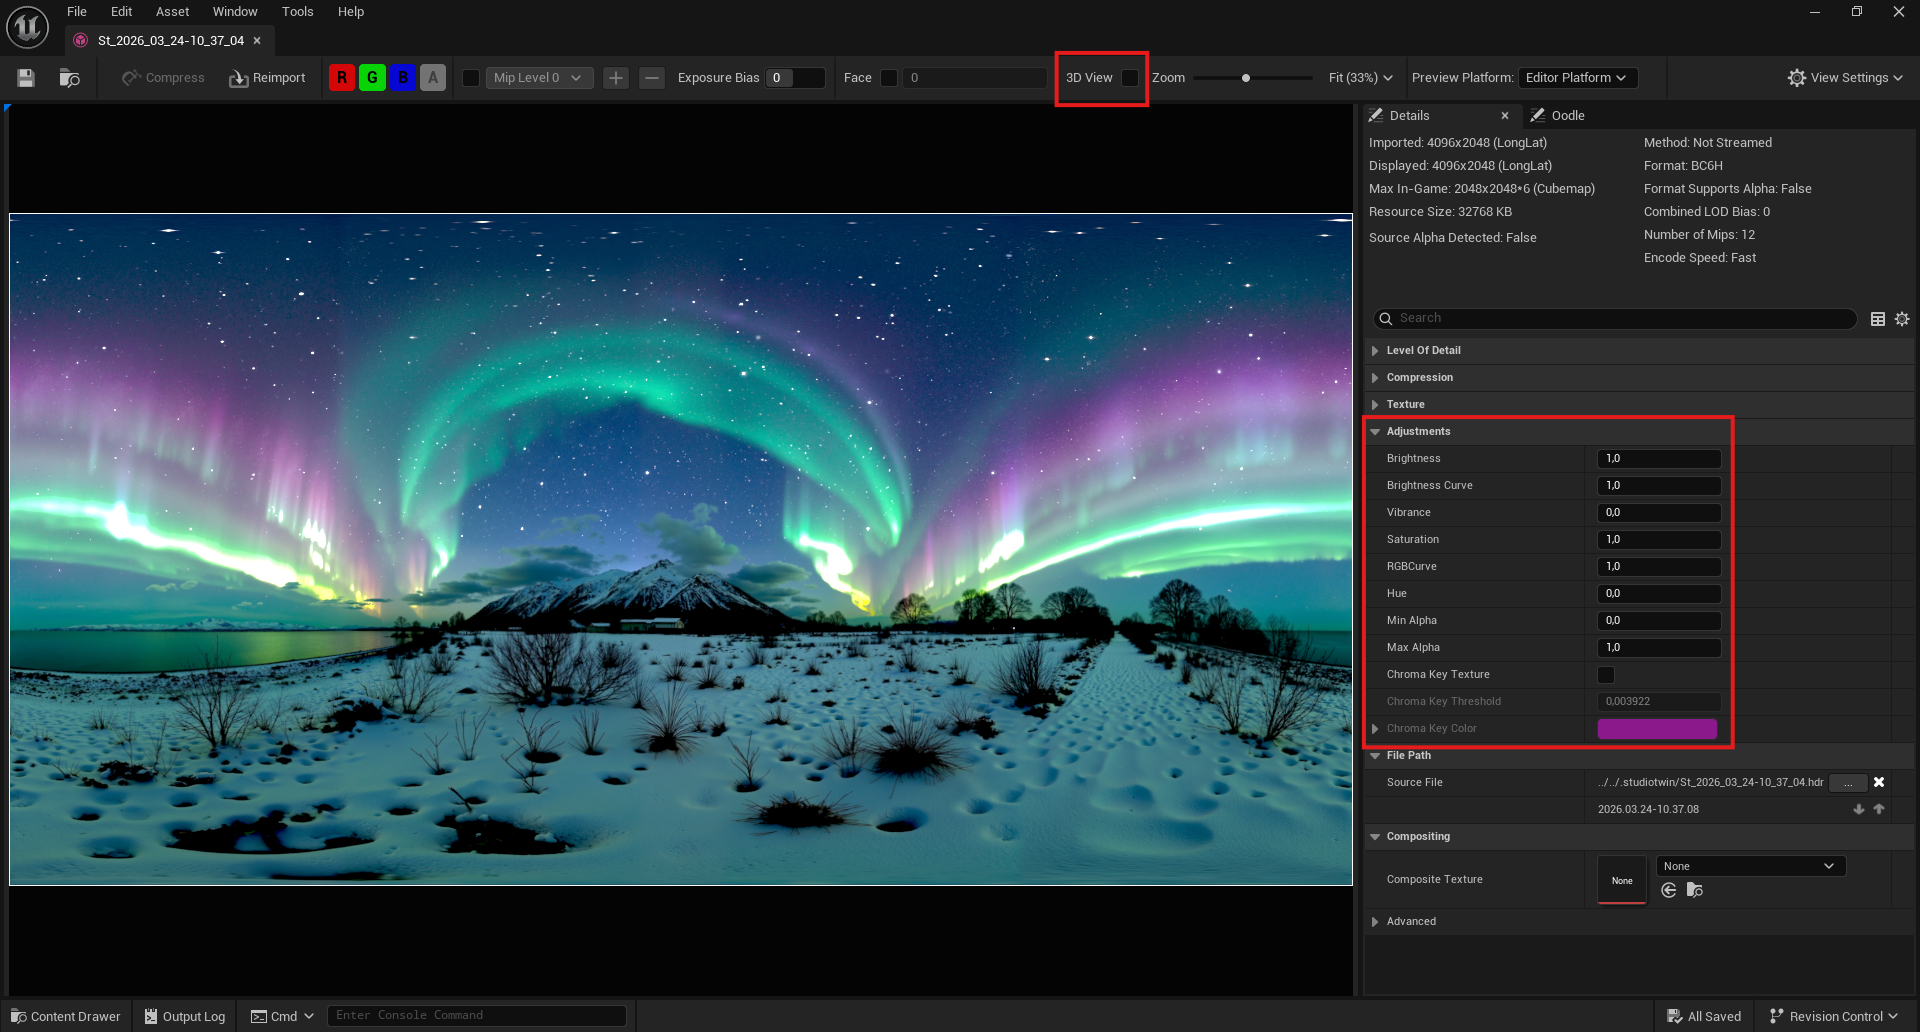
You can open the TextureCube file and watch the environment map in 3D view, check the exposure bias or do minor color adjustments.
Skylight Intensity vs HDRI Intensity
One of the main ways to adjust the environment map appearance and the scene lighting independently is the distinction between the intensity of the HDRI Backdrop Actor and the intensity of th Skylight Component of the same Actor.
The HDRI intensity affects both the scene lighting and the brightness of the environment map texture. The only way to adjust just the lighting of the scene without affecting the look of the environment map is to adjust the intensity of the Skylight component of the HDRI backdrop actor.
This is useful when the same backdrop Actor is used both to light the scene and is present as the Matte background of a virtual production shot.
| HDRI Intensity | Skylight Intensity | Environment |
|---|---|---|
| 1.0 | 1.0 | 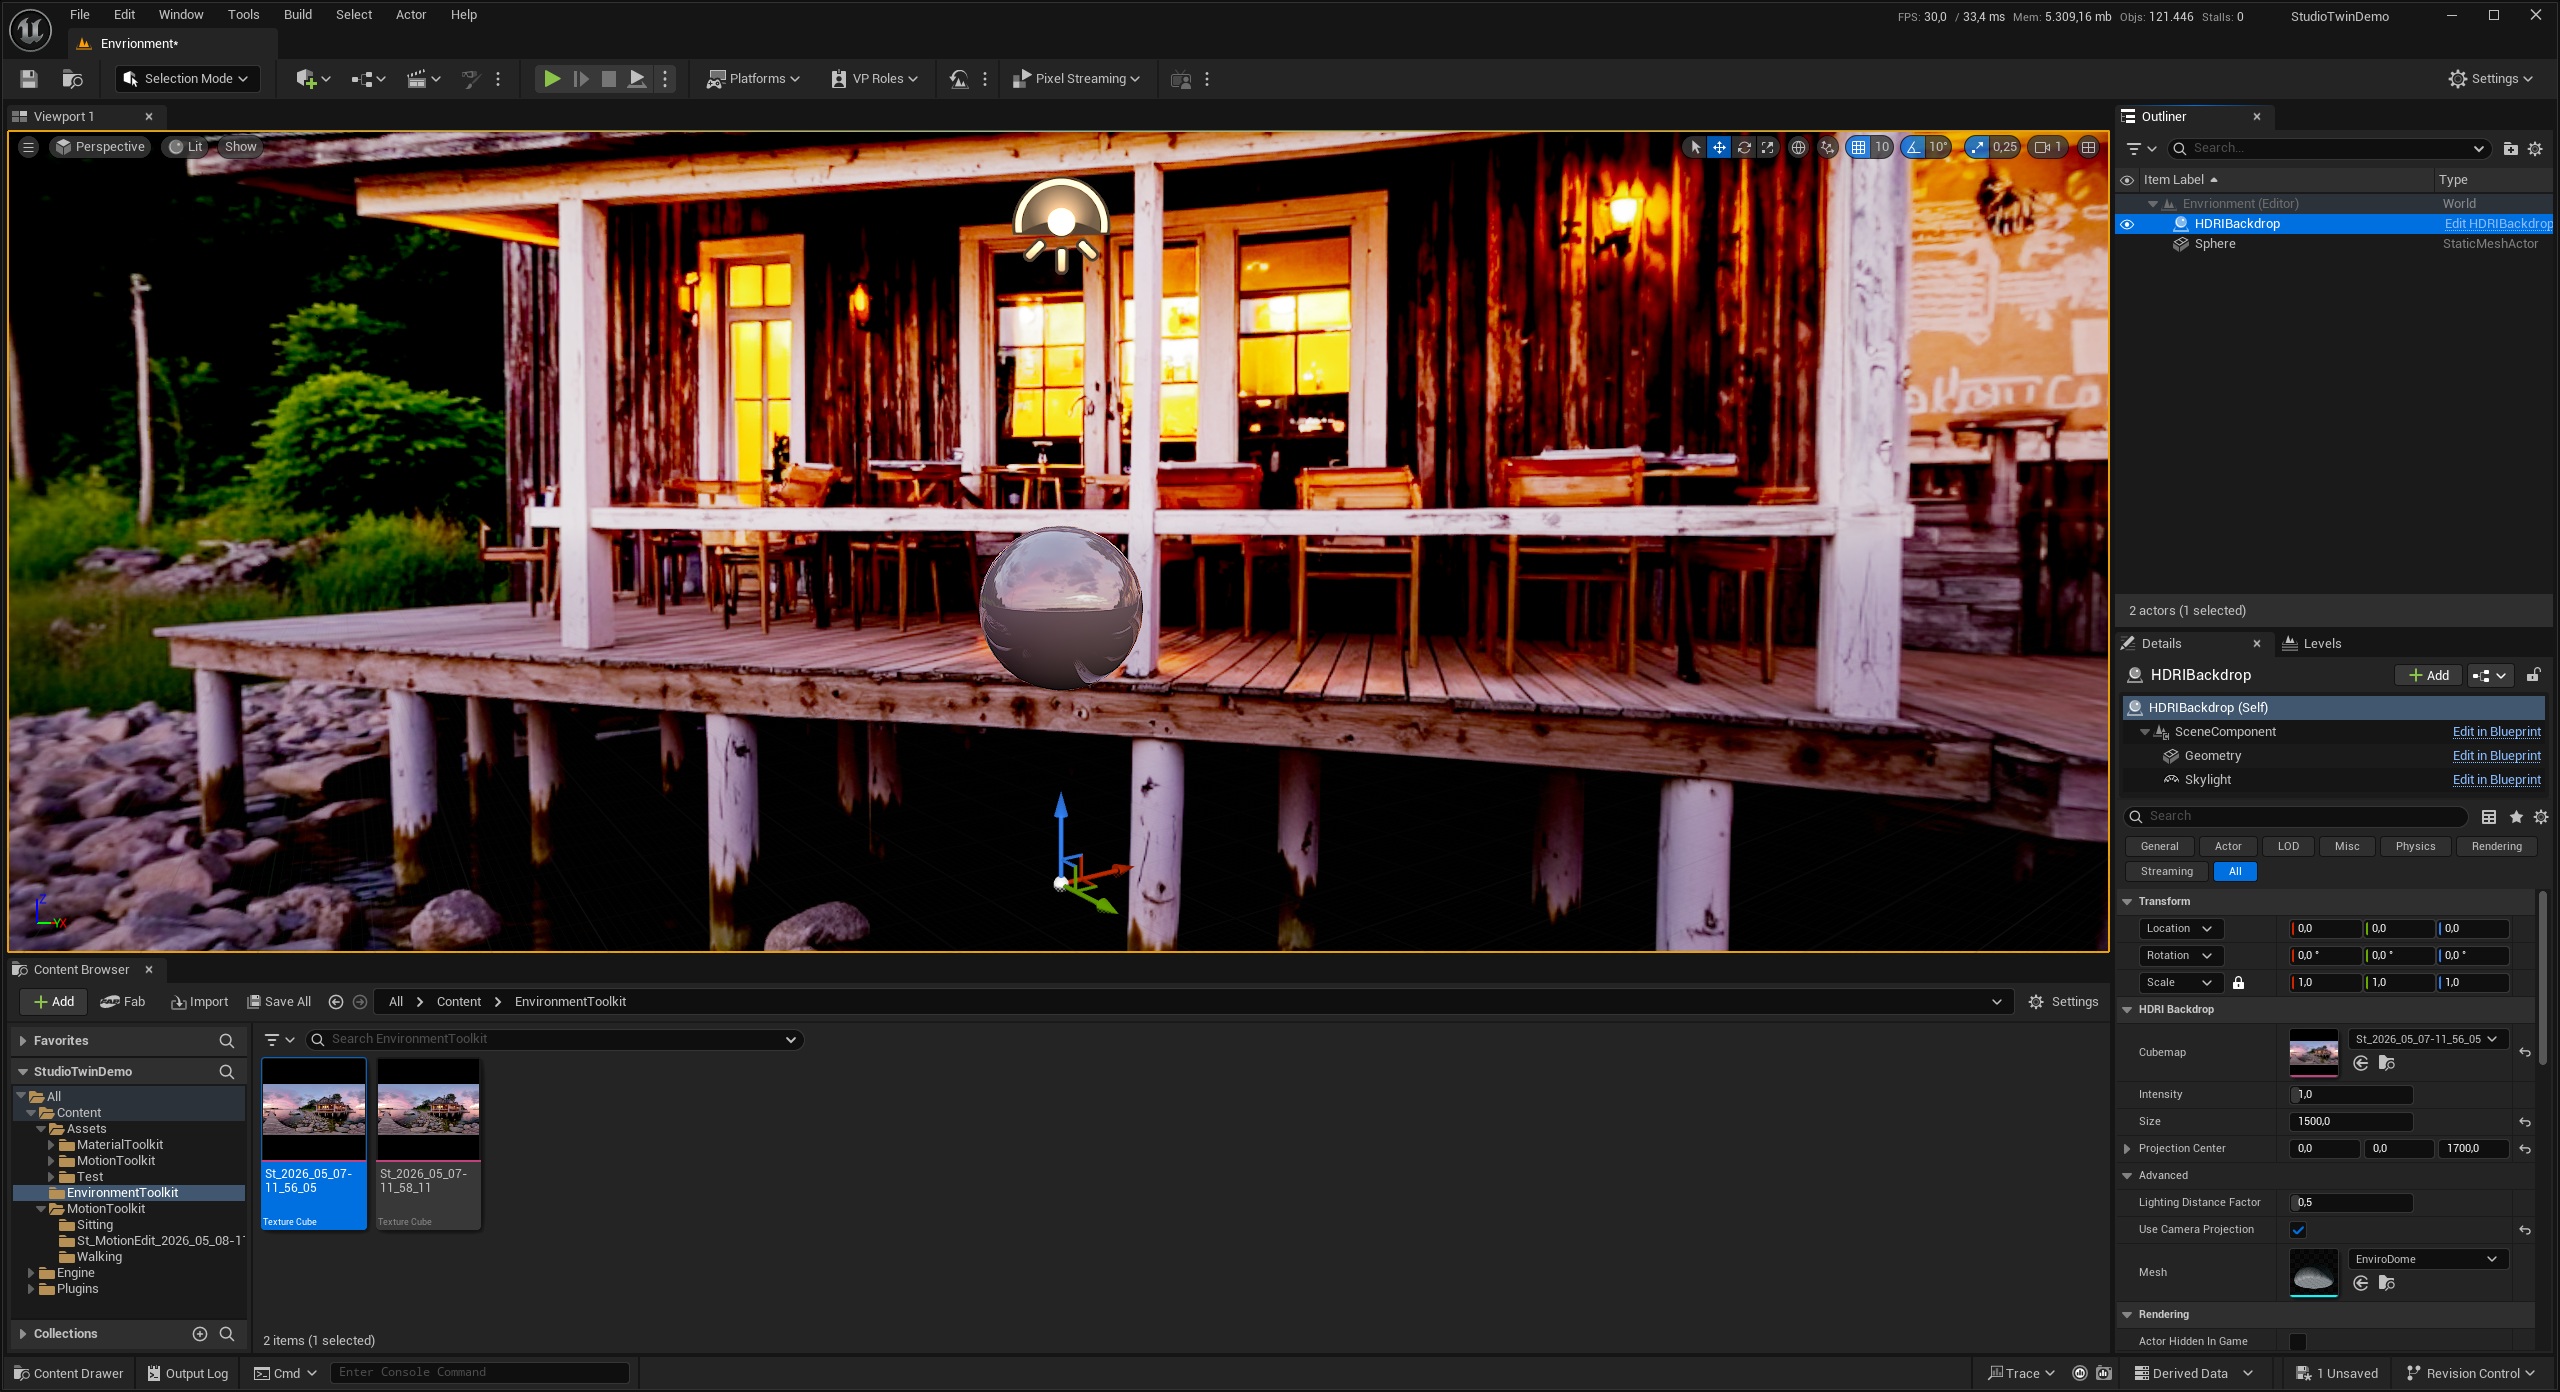 |
| 2.0 | 1.0 | 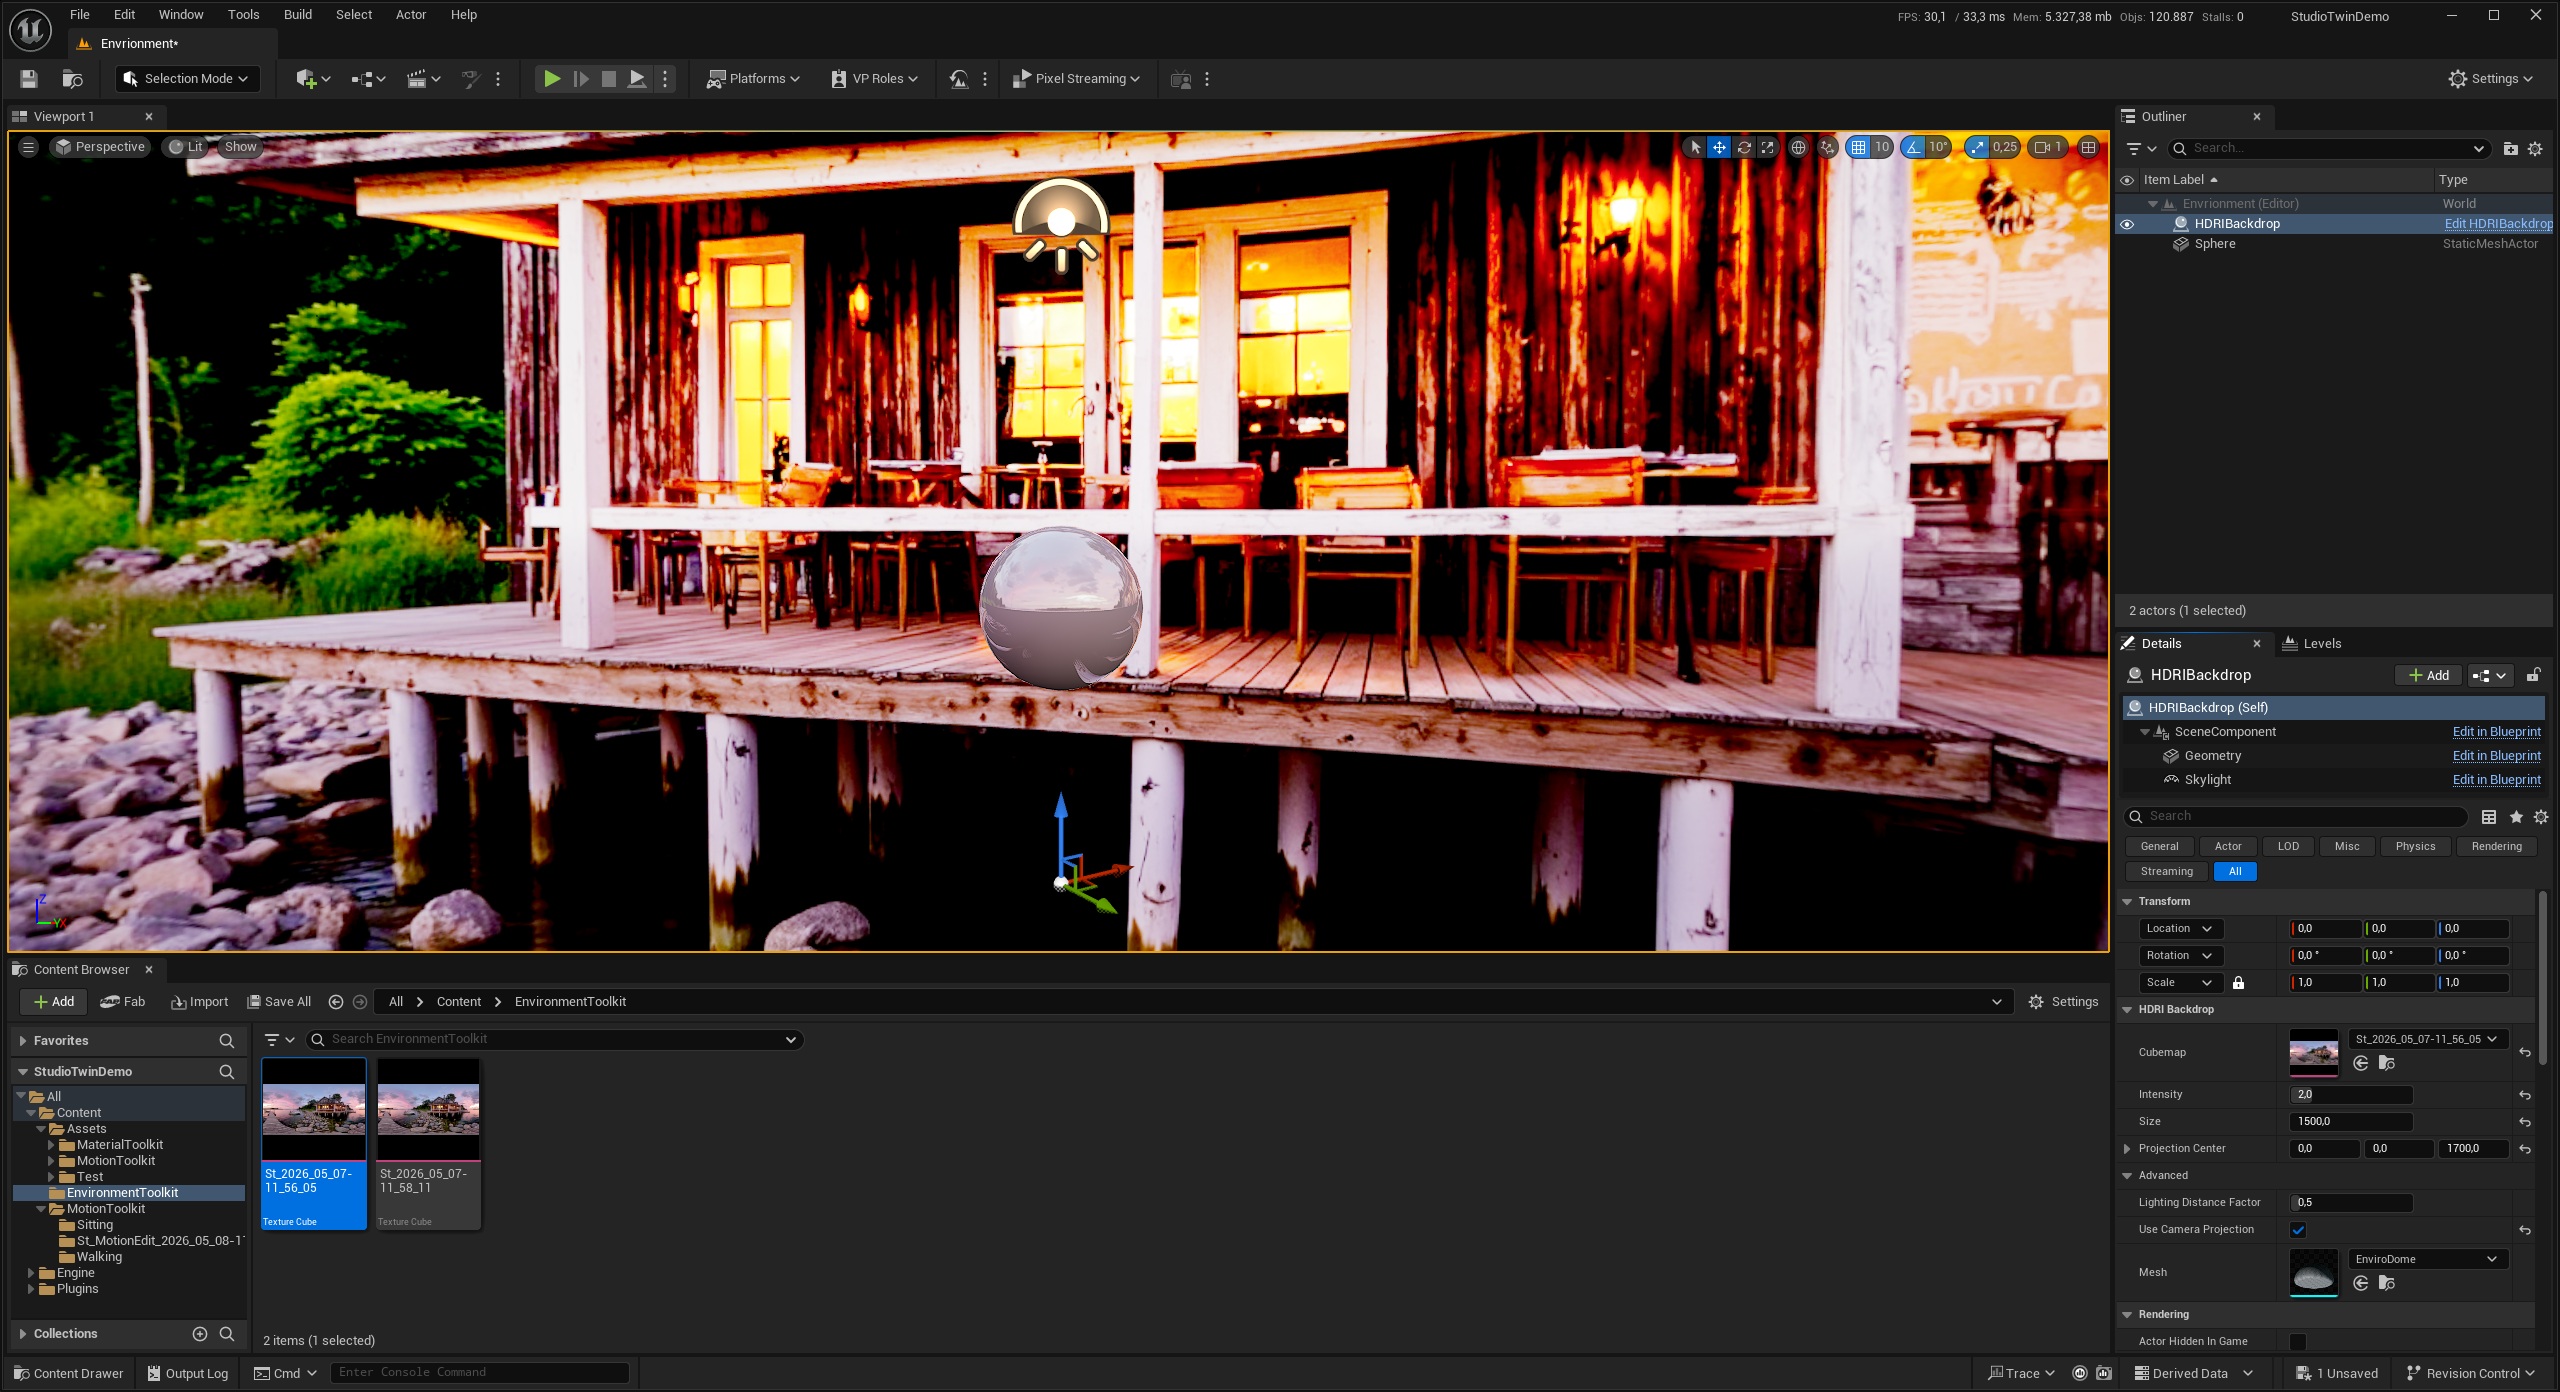 |
| 1.0 | 2.0 | 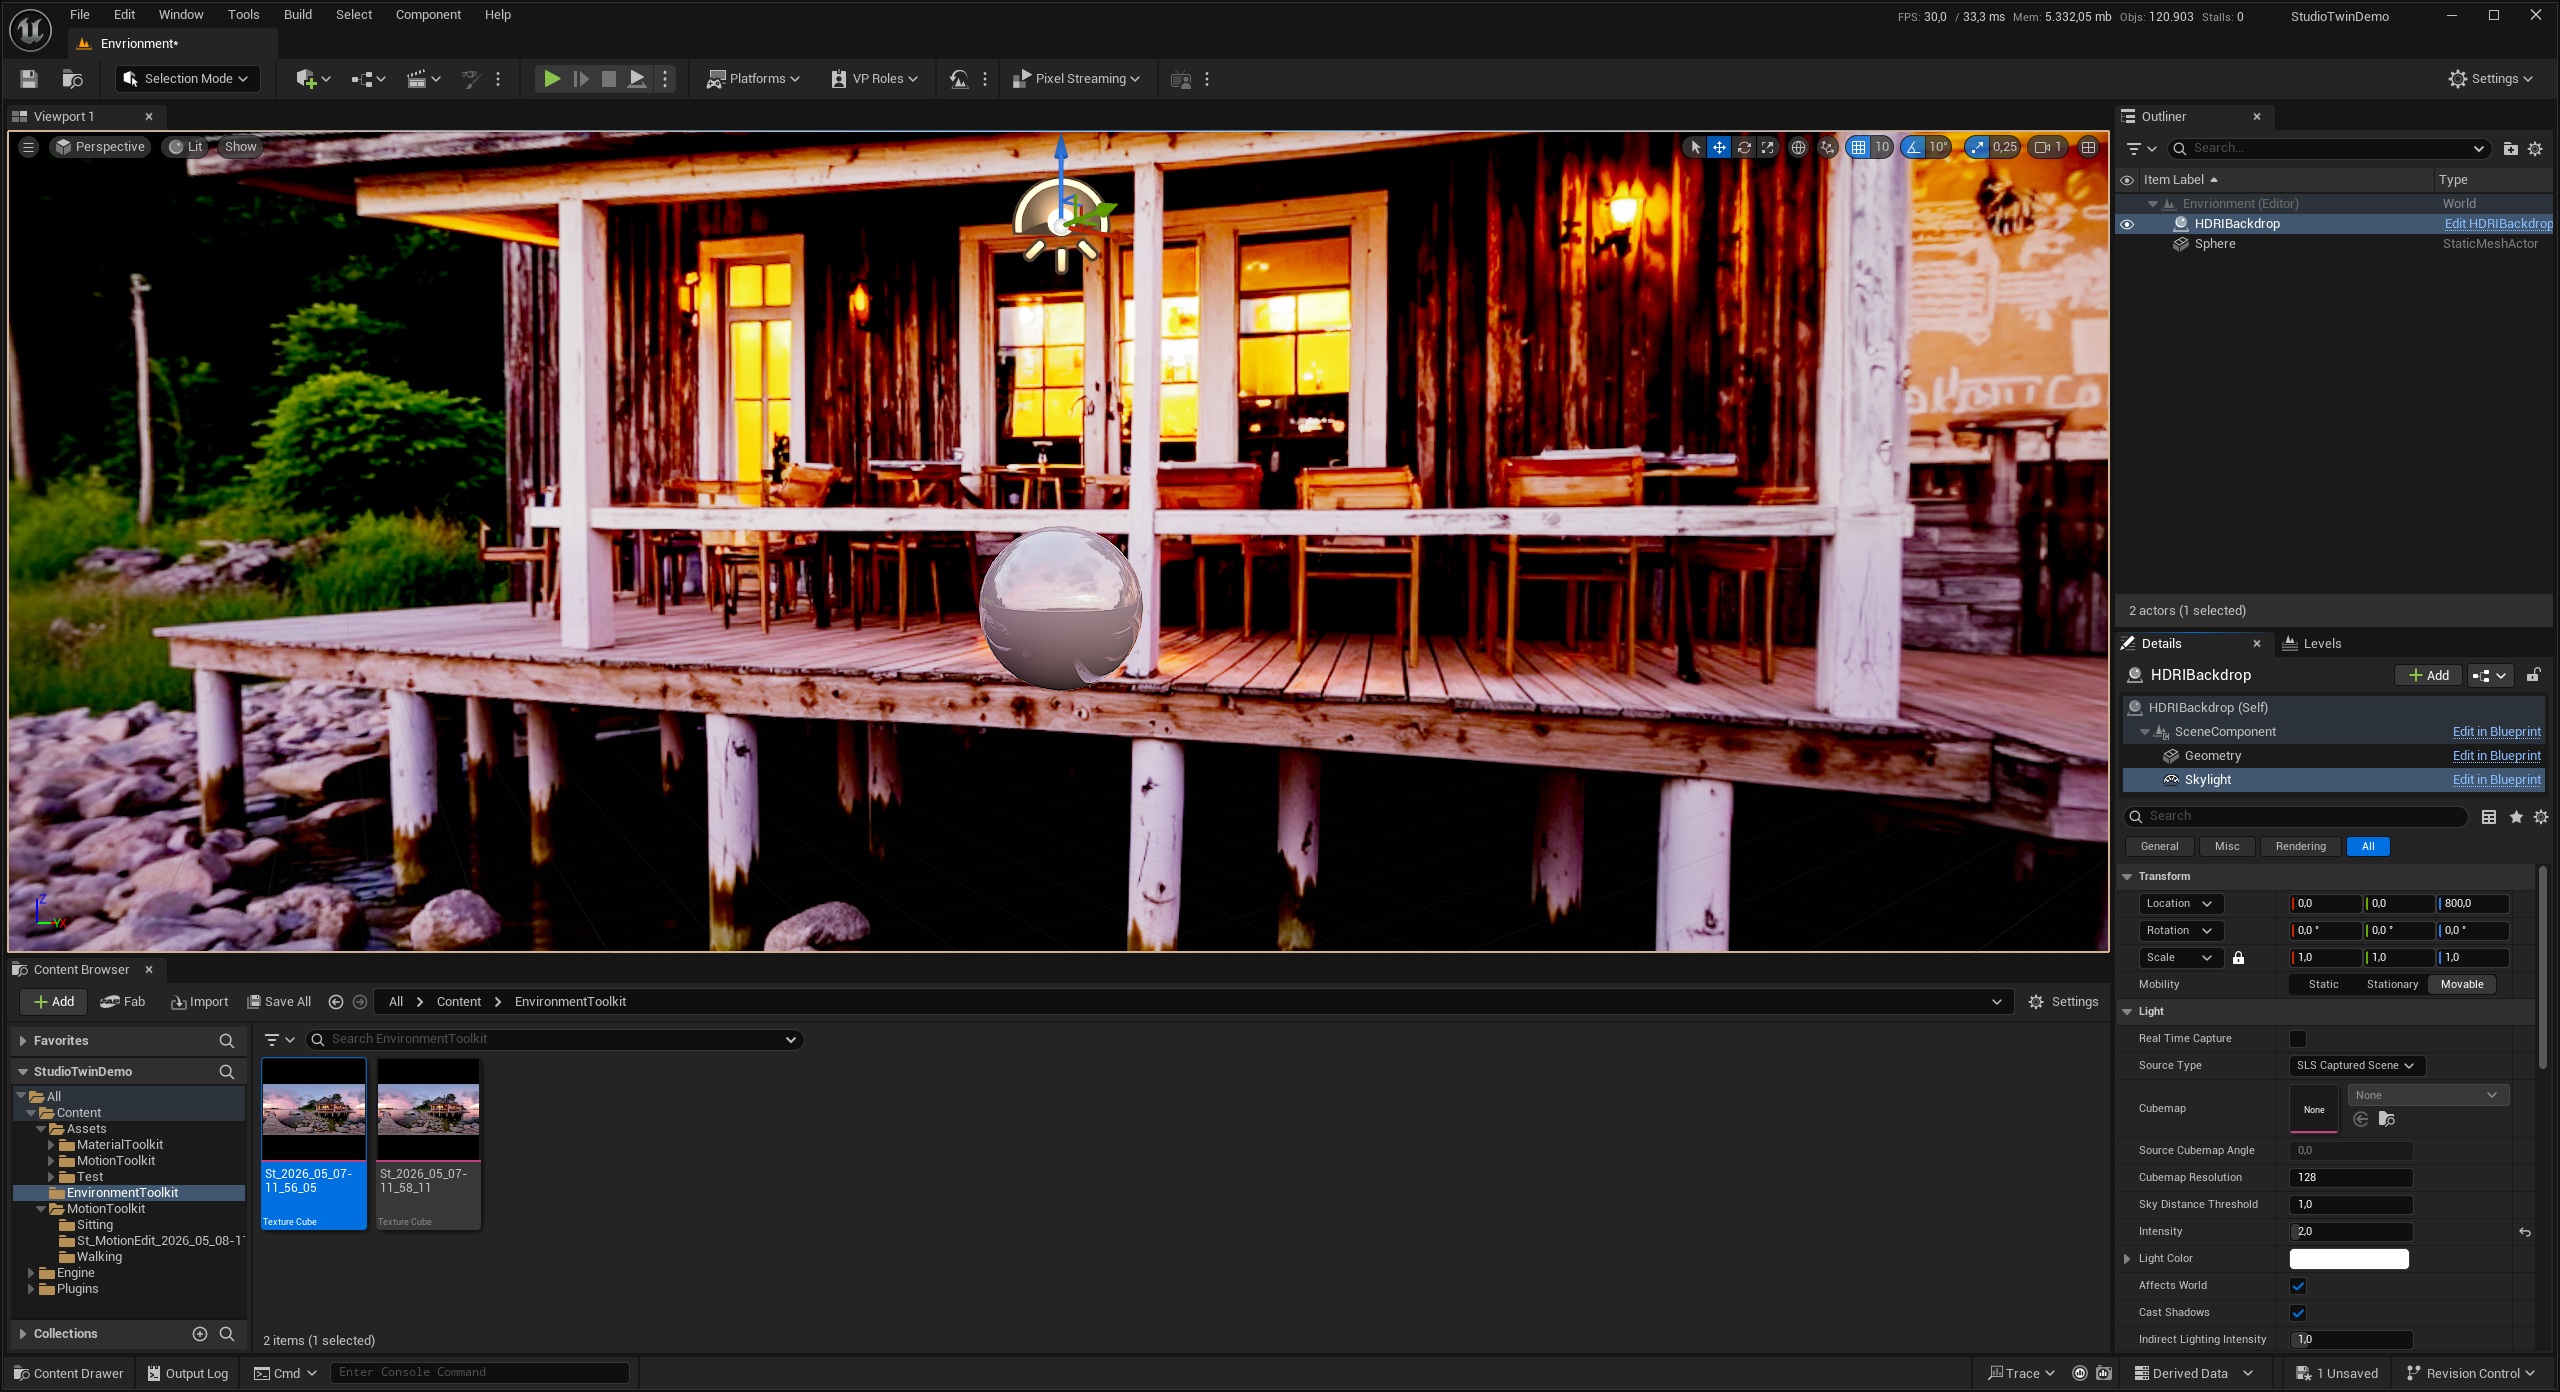 |